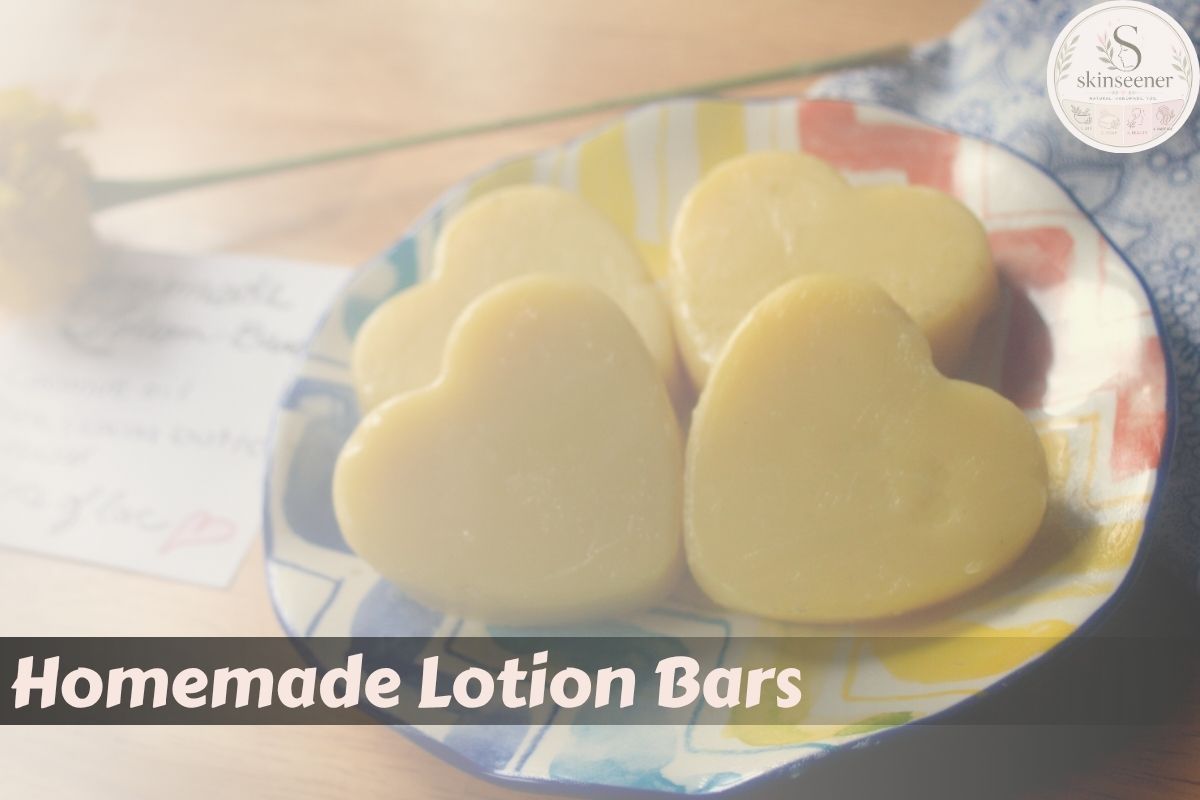
Lotion bars are an easy and natural method of ensuring that your skin remains soft, supple, and moisturized. The benefits of homemade lotion bars include easy preparation, portability, and being chemical-free, unlike most store-bought lotions.
What Are Homemade Lotion Bars?
Homemade lotion bars are solid bars made with nourishing oils, butter, and wax that melt slightly when rubbed onto the skin. The heat from your body helps the bar glide smoothly, delivering rich moisture directly to dry areas.
Unlike liquid lotions, lotion bars do not contain water, which makes them longer-lasting and naturally preservative-free.
Key Benefits of Homemade Lotion Bars
- Deeply hydrates dry and rough skin
- Compact and mess-free for travel
- Made with natural and customizable ingredients
- Long shelf life without preservatives
- Eco-friendly alternative to bottled lotions
Essential Ingredients for Homemade Lotion Bars
The beauty of a lotion bar recipe lies in its simplicity. Most recipes require only a few ingredients.
Base Ingredients
1. Beeswax
Beeswax helps harden the lotion bar and creates a protective layer on the skin to lock in moisture.
2. Shea Butter
Shea butter is rich in vitamins and deeply nourishes dry and irritated skin.
3. Cocoa Butter
Cocoa butter adds creaminess and helps improve skin softness and elasticity.
4. Coconut Oil
Coconut oil moisturizes the skin and gives lotion bars a smooth texture.
Tools You Need for a Lotion Bar Recipe
Before starting, gather these simple tools:
- Double boiler
- Silicone molds
- Measuring cups
- Mixing spoon
- Storage tins or jars
These basic tools make the lotion-making process easy and mess-free.
Easy Homemade Lotion Bar Recipe
This beginner-friendly lotion bar recipe is perfect for soft and healthy skin.
Ingredients List
- 1/4 cup beeswax
- 1/4 cup shea butter
- 1/4 cup coconut oil
- 10 drops lavender essential oil
Step-by-Step Instructions
1. Melt the Ingredients
Place beeswax, shea butter, and coconut oil in a double boiler. Heat gently until fully melted.
2. Add Essential Oils
Remove from heat and add lavender essential oil. Stir well.
3. Pour into molds.
Carefully pour the mixture into silicone molds.
4. Let the Bars Cool
Allow the bars to harden completely at room temperature or refrigerate for faster setting.
5. Store Properly
Remove from molds and store in airtight containers.
Soy Wax Lotion Bar Recipe
If you prefer vegan skincare products, this soy wax lotion bar recipe is a great alternative to beeswax-based lotion bars.
Why Use Soy Wax in Lotion Bars?
Soy wax is plant-based, eco-friendly, and creates a smooth texture in lotion bars. It works well for people looking for vegan skincare solutions.
Soy Wax Lotion Bar Recipe Ingredients
- 1/4 cup soy wax
- 1/4 cup shea butter
- 1/4 cup sweet almond oil
- 10 drops vanilla or lavender essential oil
How to Make Soy Wax Lotion Bars
1. Melt the Ingredients
Combine soy wax, shea butter, and sweet almond oil in a double boiler until melted.
2. Add Fragrance
Stir in essential oils after removing from heat.
3. Pour into molds.
Pour the mixture into molds and let it cool completely.
4. Allow to Harden
Once solid, remove the lotion bars and store properly.
Benefits of Soy Wax Lotion Bars
- Vegan and cruelty-free
- Lightweight on the skin
- Non-greasy hydration
- Smooth and silky texture
- Great for sensitive skin
Best Essential Oils for Homemade Lotion Bars
Essential oils enhance both fragrance and skincare benefits.
Relaxing Scents
1. Lavender Oil
Helps calm the mind and soothe irritated skin.
2. Chamomile Oil
Perfect for sensitive and dry skin.
Refreshing Scents
1. Peppermint Oil
Provides a cooling sensation and refreshing aroma.
2. Lemon Oil
Adds a clean and uplifting fragrance.
Skin Nourishing Oils
1. Tea Tree Oil
Known for its antibacterial properties.
2. Frankincense Oil
Supports healthy-looking and youthful skin.
How to Store Homemade Lotion Bars
Proper storage helps lotion bars last longer.
- Keep them in airtight containers.
- Store away from direct sunlight
- Avoid high temperatures during summer
- Use metal tins for travel convenience
Most homemade lotion bars last for 6–12 months when stored correctly.
Common Mistakes to Avoid While Making Lotion Bars
1. Using Too Much Wax
Excess wax can make lotion bars hard and difficult to apply.
2. Incorrect Oil Ratios
Too much oil may cause bars to melt quickly.
3. Adding Excess Essential Oils
Strong concentrations may irritate the skin.
4. Improper Storage
Heat and moisture can reduce shelf life.
Are Homemade Lotion Bars Good for All Skin Types?
Yes, homemade lotion bars can be customized for different skin types.
1. Dry Skin
Use rich butter like shea and cocoa butter.
2. Oily Skin
Choose lightweight oils such as grapeseed oil.

3. Sensitive Skin
Use fragrance-free and gentle ingredients.
4. Combination Skin
Balance nourishing butter with lighter oils.
Conclusion
Homemade lotion bars are a wonderful natural skincare solution that is easy to make and highly customizable. Whether you choose a classic lotion bar recipe or a vegan soy wax lotion bar recipe, these nourishing bars can help keep your skin soft, hydrated, and healthy throughout the year.
With simple ingredients and endless customization options, homemade lotion bars are perfect for personal use or thoughtful handmade gifts.
Read This Blog – Homemade Shampoo for Dry Hair
Leave a Reply